Menu Guidelines Links News Download Wish List Educational Robots Tomy Toy Bots Other Toy Robots My Robots
Boxes Controller Manuals Posters Repairs          
Omnibot ® 2000 - Before and After


BEFORE AND AFTER


Omnibot 2000
OLD - Click to Enlarge

Omnibot 2000
OLD - Click to Enlarge

Omnibot 2000
OLD - Click to Enlarge

Omnibot 2000
OLD - Click to Enlarge

Omnibot 2000
OLD - Click to Enlarge


Omnibot 2000 - Step - #1
Click to Enlarge

Omnibot 2000 - Step - #2
Click to Enlarge

Omnibot 2000 - Step - #3
Click to Enlarge

Omnibot 2000 - Step - #4
Click to Enlarge

Omnibot 2000 - Step - #5
NEW - Click to Enlarge

DISSASSEMBLY, PROCESS , CLEANING AND REPAIR

Robot ; Dissasembly and Assembly
  • Omnibot® 2000 Tomy® Robot ; Dissasembly and Assembly

  • Robots - Repairs Information & Tips
    The most disheartening thing to see is getting a robot (your) robot and finding that it does not work or is broken. The first thing is what do I do? The answer is, get it fixed.
    Remember there are no parts readily available for old robots.
    Step 1. The first thing you must do if you can is to temporary get it working. Once you do that then you can start.
    Step 2. Disassemble the robot completely, recording every step, and put the electronics in a separate place.
    Step 3. Clean all of the parts with the proper cleaners. (Remember plastic and metals need different cleaners.)
    Step 4. Clean the electronics and circuit boards. ( There are many processes in cleaning and you should look up the procedures and cleaners.)
    Step 5. Reassemble the robot reversing the recorded steps.
    Step 6. At this stage you are ready to troubleshoot the robot to get it working.
    Note : The following pictures are examples of a robot in the process for your convience.


    Omnibot 2000
    Click to Enlarge

    Omnibot 2000
    Click to Enlarge

    Omnibot 2000
    Click to Enlarge

    Omnibot 2000
    Click to Enlarge


    Omnibot 2000
    Click to Enlarge

    Omnibot 2000
    Click to Enlarge

    Omnibot 2000
    Click to Enlarge

    Omnibot 2000
    Click to Enlarge

    How to Clean & Whiten Yellowed Plastics

    Methods of Treatment: Go to this website for detail information. http://www.retrofixes.com/2013/10/how-to-clean-whiten-yellowed-plastics.html The following information listed below is for review only.

    Pure Hydrogen Peroxide with no additives. This is the easiest method and perfect for small items. The peroxide strength ranges from 3% to 12%. Higher concentrations above %3 can only be purchased from Hair Salon stores. This is the simplest method IF the item can be completely submerged. Weaker 3% peroxide requires longer application time.

    Hydrogen Peroxide Homemade GEL. This method has many names online: seaglow, sauce & retrobright. Recipes & more info available online. Honestly I dislike to complicated process.

    Hydrogen Peroxide ready made GEL. This method is perfect for large items. The peroxide gel will stick to the plastic during application."Cream Peroxide 40Vol" 12% Strength. Its found in hair salon stores. Simple, cheap & works. Note: Some versions of Cream contain unwanted bleaching agents that can have unwanted effects on the plastic. Test your Cream before applying to your beloved item. I have also noticed the same issue with retrobright recipes.

    Peroxide Treatment:
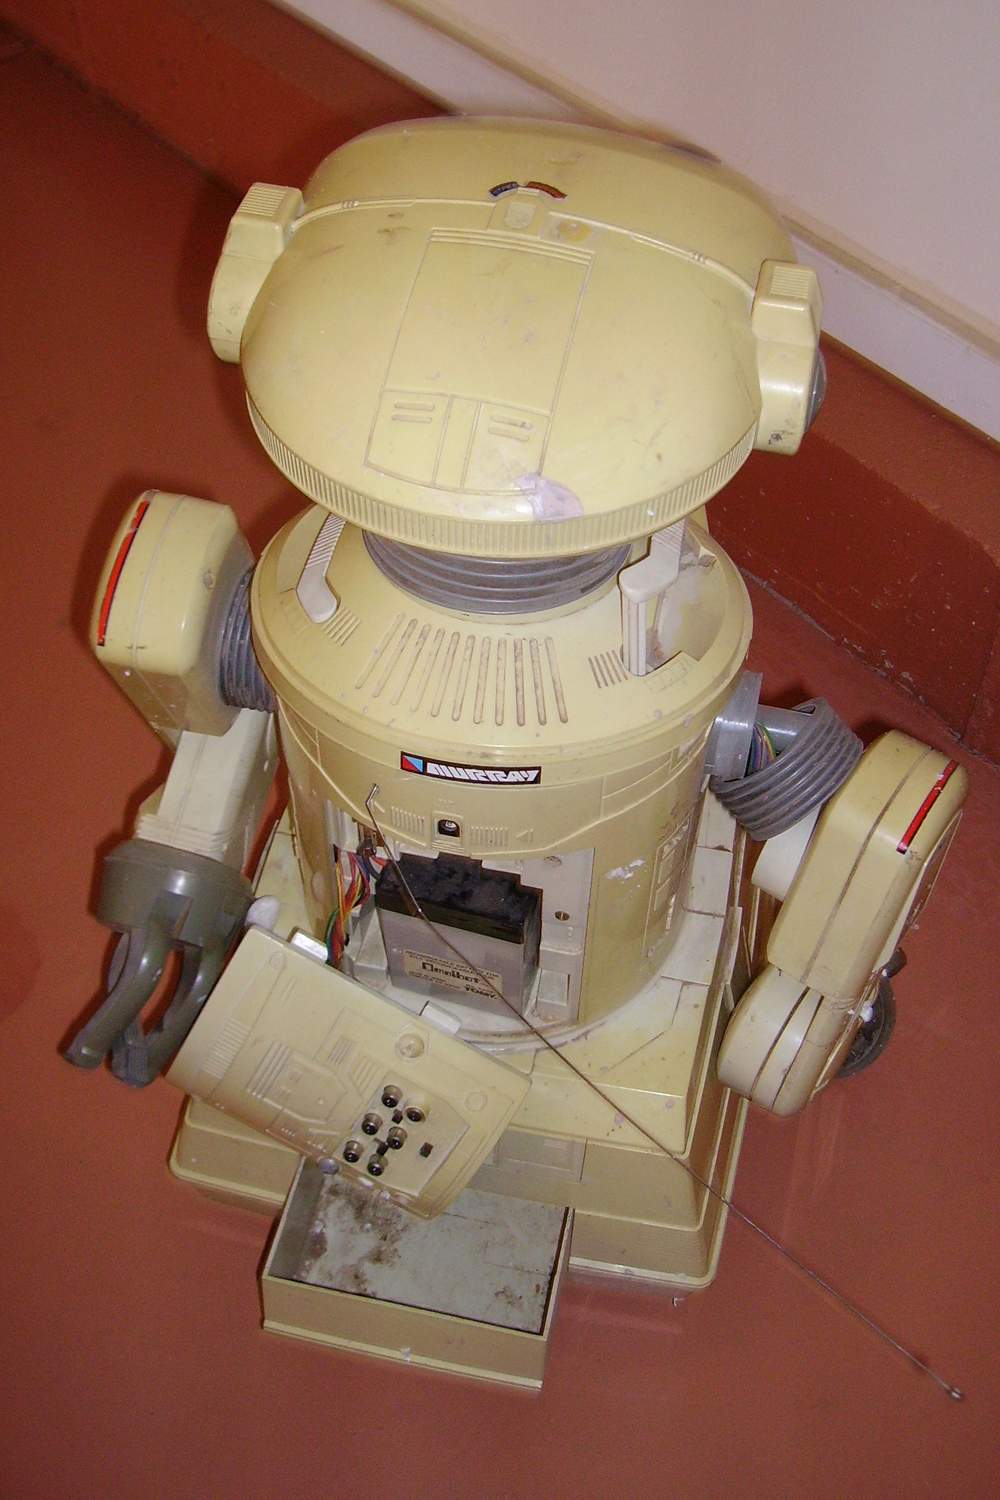
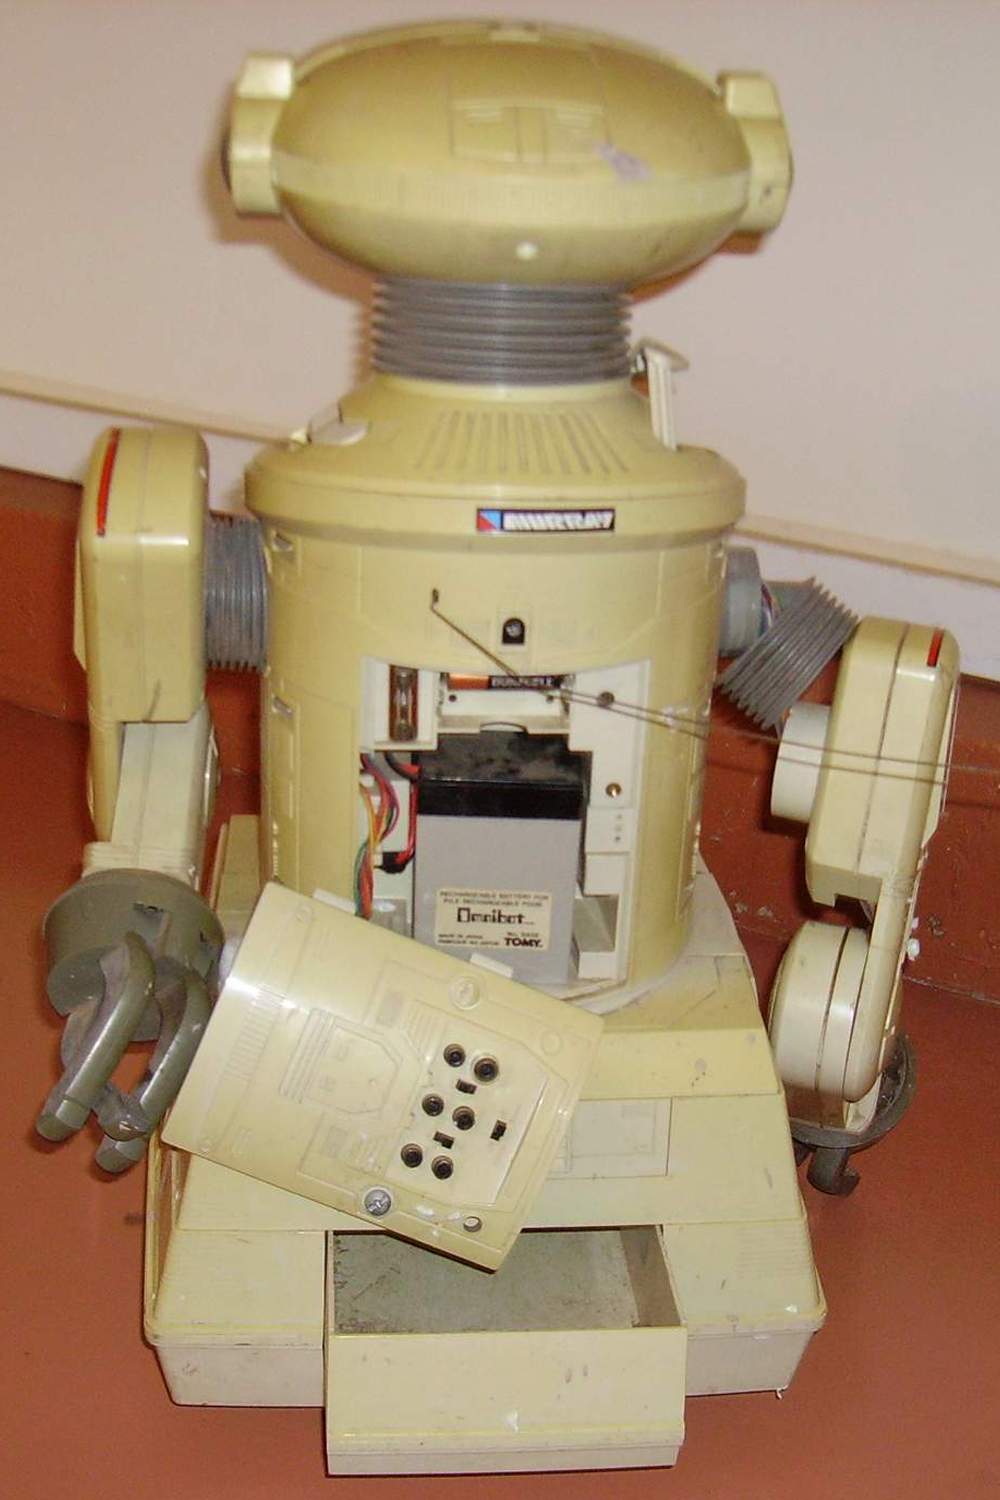
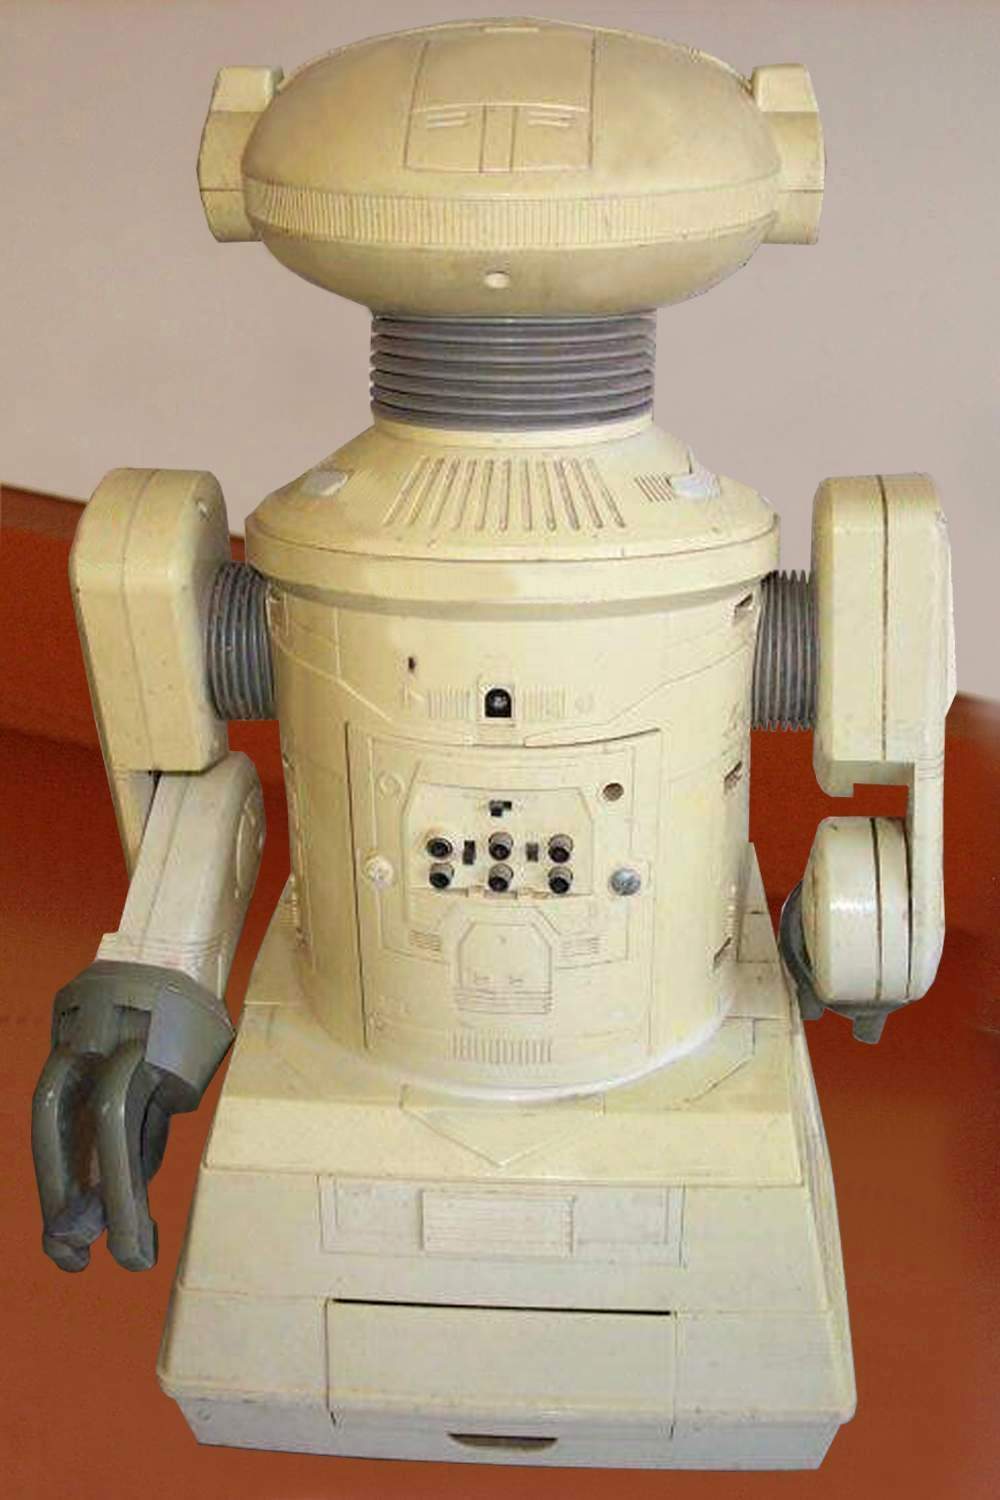
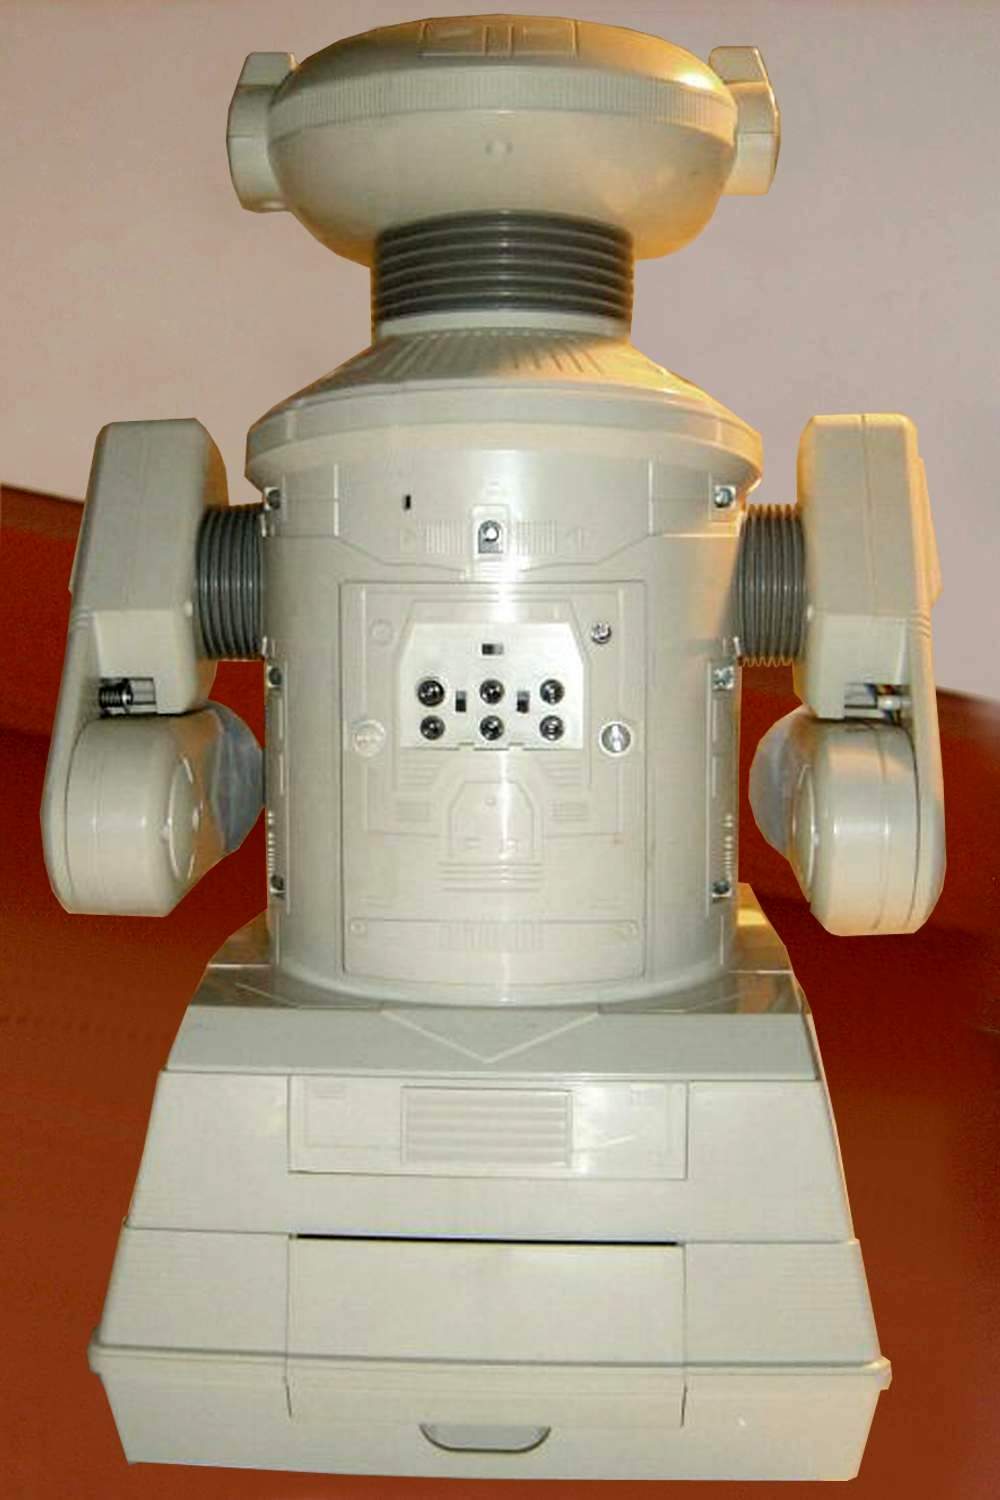
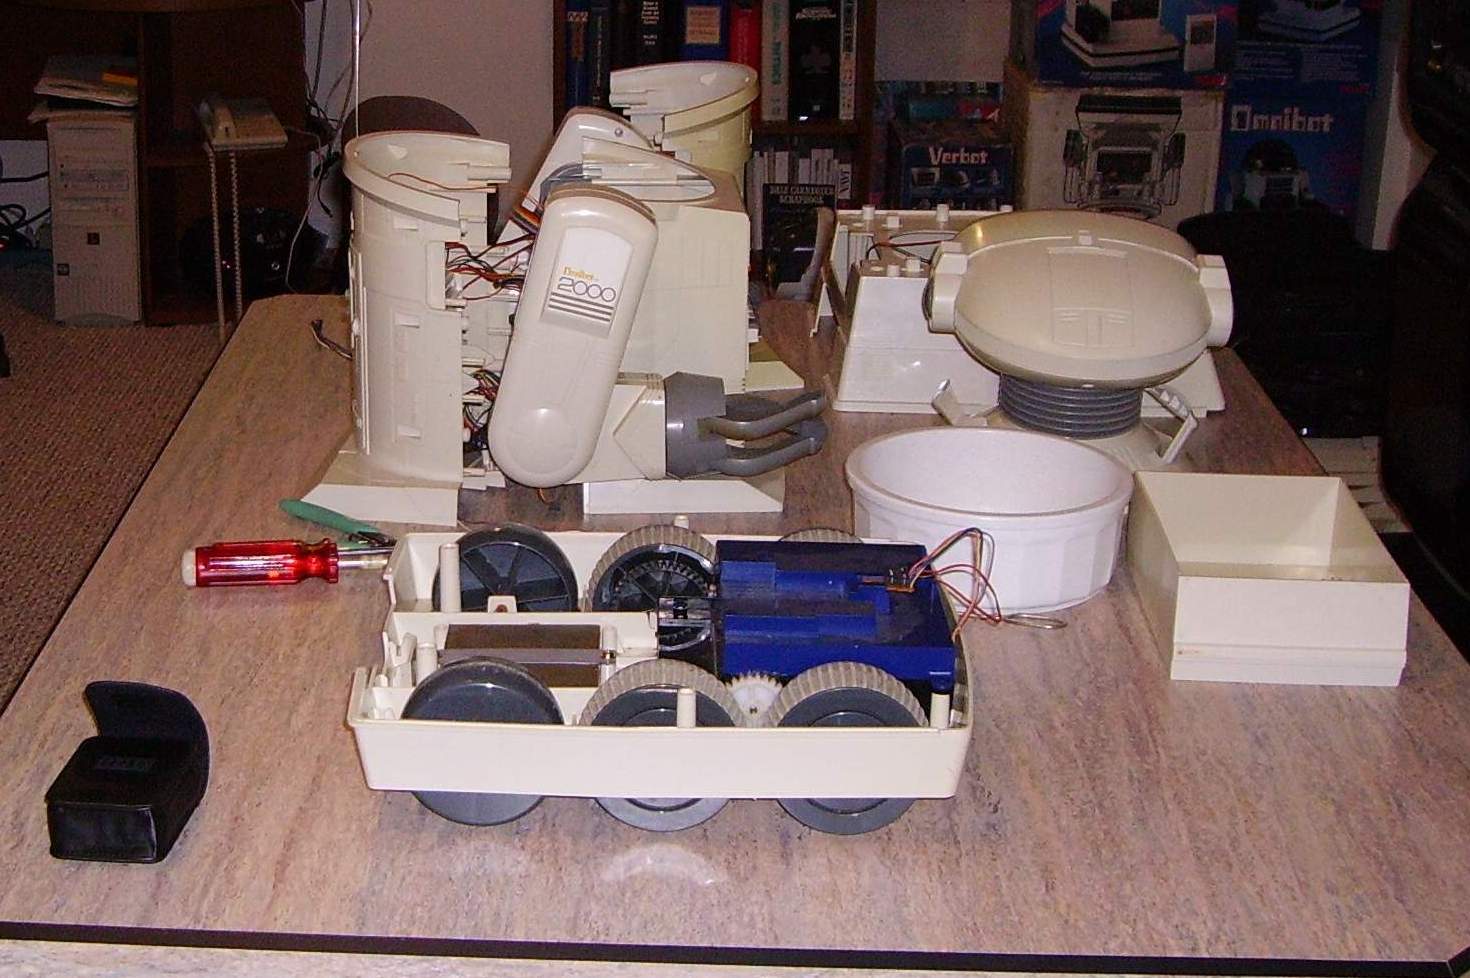
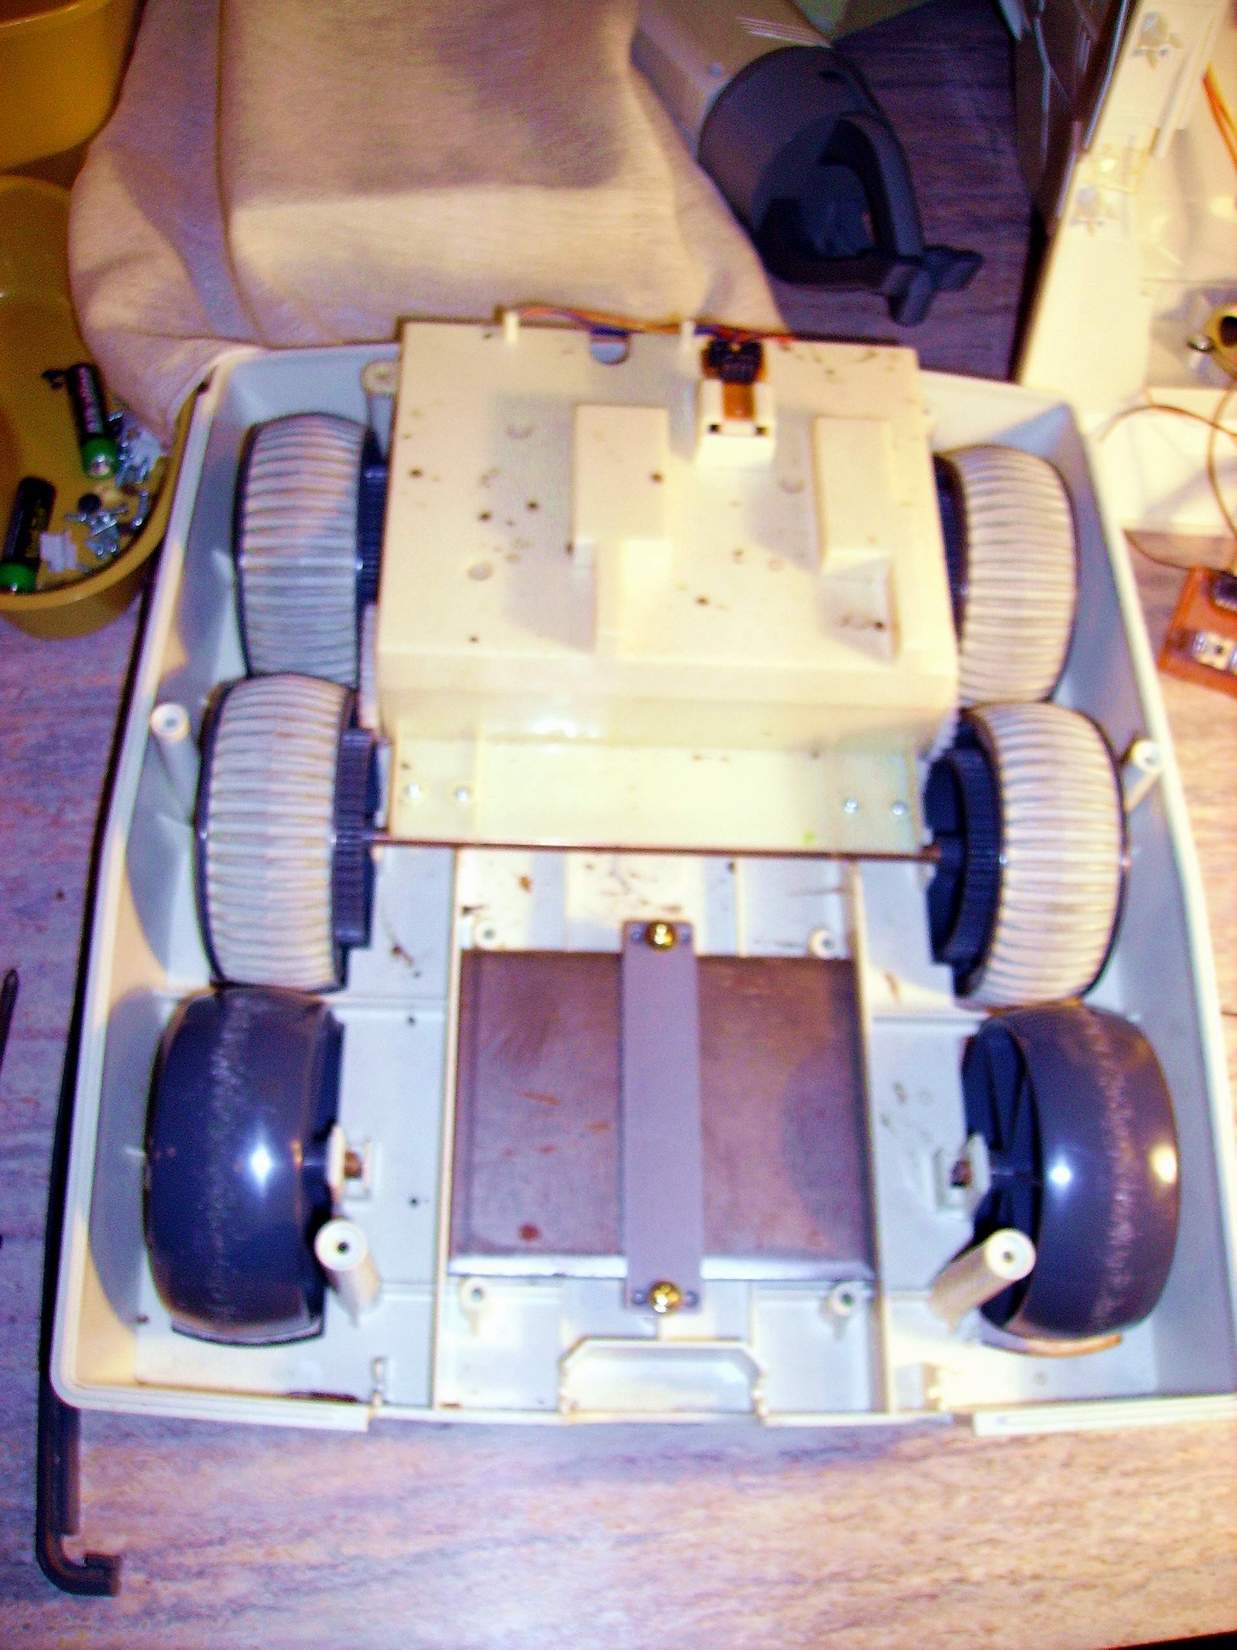
    Use protective goggles and wear rubber gloves. Peroxide will irritate your skin and can cause blindness! Place the mixture away from children or pets! Be sure to remove all nonessential items from the plastic. This method is only suitable for previously white or light gray plastics. Colored plastics will have mixed results and damage the surface color. Never treat paper decals and delicate labels.

    Ingredients for this Tutorial:
    Hydrogen peroxide 12%. "Cream Peroxide 40Vol" Found at hair salon stores. No mixing or other ingredients needed. Once coated, seal the item in a large ziplock bag or large clear garbage bag. Sit the item outside in direct sunlight. After 3-4 hours the item should turn to its original color, rotate item every hour. Rinse and repeat until desired color is obtained. DO not allow the cream to dry! This will cause scars on the plastic surface. Avoid hot areas such as black asphalt.

    http://www.retrofixes.com/2013/10/how-to-clean-whiten-yellowed-plastics.html
    http://www.howtocleanstuff.net/how-to-whiten-yellowed-plastic/
    https://www.howtogeek.com/196687/ask-htg-why-do-old-computers-and-game-consoles-turn-yellow/
    https://forums.parallax.com/discussion/143680/restoring-vintage-plastics-to-remove-yellowing-on-old-equipment-does-it-work


    How to Clean Electronic Circuit Boards

    Methods of Treatment: Go to this website for detail information. https://www.wikihow.com/Clean-Circuit-BoardsThe following information listed below is for review only.

    Circuit boards can become notoriously dirty, accruing dust and whiskers from soldering. By using higher-grade alcohol, circuit board users can thoroughly clean and maintain a circuit board of any size in a few simple steps. Higher-grade (around 95 to 99 percent) isopropyl alcohol and ethyl alcohol are the most effective cleaning solvents.

    On the other hand since isopropyl alcohol dries quickly, it is selected as preferred method to cleaning electronics. ... In these case also we can apply isopropyl alcohol as a cleaning agent.

    How do you clean corroded circuit boards? - Insert a toothbrush into the baking soda paste and apply it onto the corroded parts of the circuit board. Scrub the circuit board gently with the toothbrush to loosen some of the corrosion.

    https://www.techwalla.com/articles/how-to-clean-electronic-circuit-boards
    https://www.wikihow.com/Clean-Circuit-Boards


    Omnibot 2000
    Click to Enlarge

    Omnibot 2000
    Click to Enlarge

    Omnibot 2000
    Click to Enlarge

    Omnibot 2000
    Click to Enlarge


    Omnibot 2000
    Click to Enlarge

    Omnibot 2000
    Click to Enlarge

    Omnibot 2000
    Click to Enlarge

    Omnibot 2000
    Click to Enlarge


    Omnibot 2000
    Click to Enlarge

    Omnibot 2000
    Click to Enlarge

    Omnibot 2000
    Click to Enlarge

    Omnibot 2000
    Click to Enlarge


    Omnibot 2000
    Click to Enlarge

    Omnibot 2000
    Click to Enlarge

    Omnibot 2000
    Click to Enlarge

    There is no warrenty expressed or implied with this procedure. By using any information from this web site, you agree not to hold responsible this site, me, nor any of its representatives, for any injuries and/or damages, both physical and/or psychological, that may arise from the use and/or misuse of anything derived from this site. The user further agrees that such information/pictures does not constitute any guarantee of accuracy, safety or reliability, and that cannot be held responsible for any way. The user agrees to proceed at their own risk.

    Source: My Collection - Updated 03-12-2019